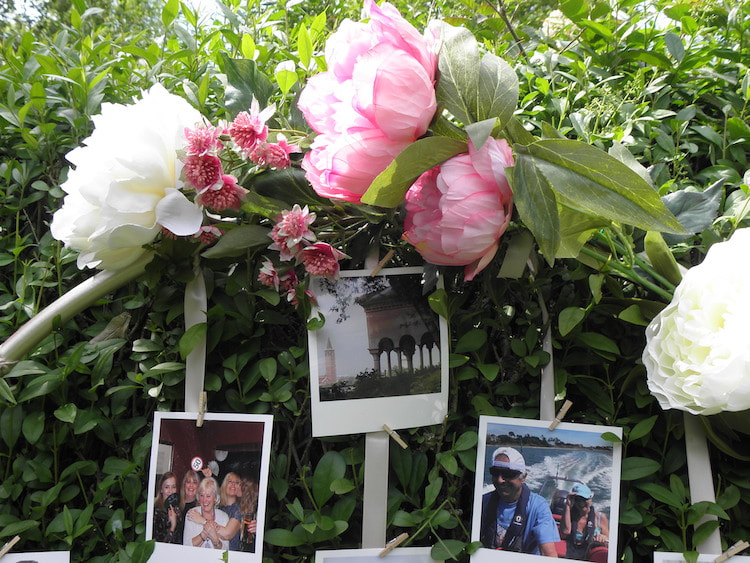
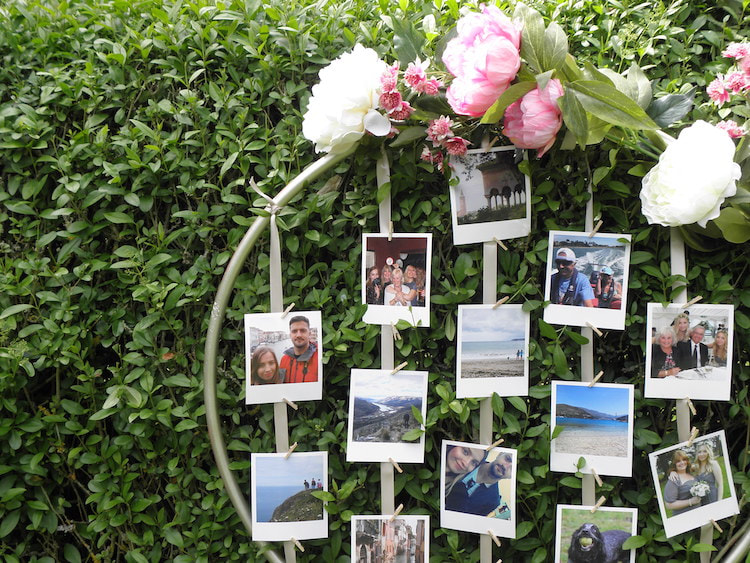
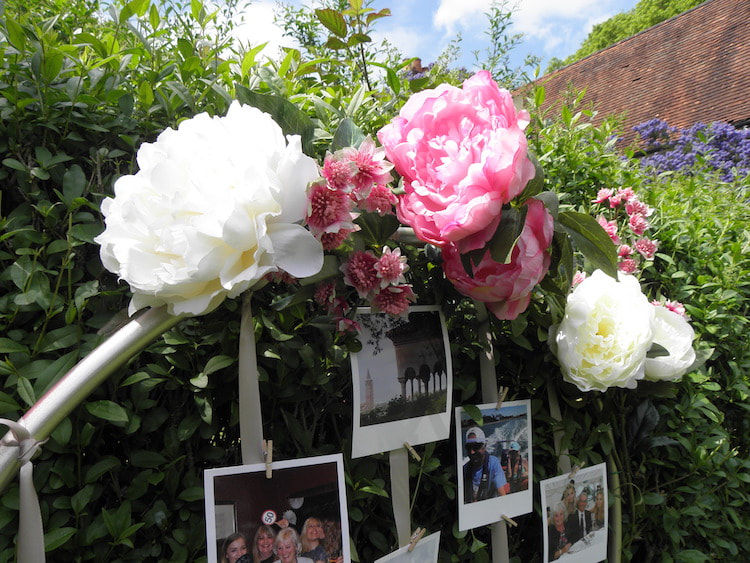
This quick and easy little DIY project is perfect for filling empty space at your venue, either as a backdrop behind your cake, a polaroid station or against a rustic brick barn wall. We've made ours into a photo display, but this can easily be transformed into a table plan; simply swap the images for table and guest names!
Now, we know that you don't choose the DIY life... the DIY life chooses you. Sometimes, you and the DIY life just don't work, and that's okay! We'll be adding some exciting new items to the shop soon so you can pop on and buy one from there.
Now, we know that you don't choose the DIY life... the DIY life chooses you. Sometimes, you and the DIY life just don't work, and that's okay! We'll be adding some exciting new items to the shop soon so you can pop on and buy one from there.
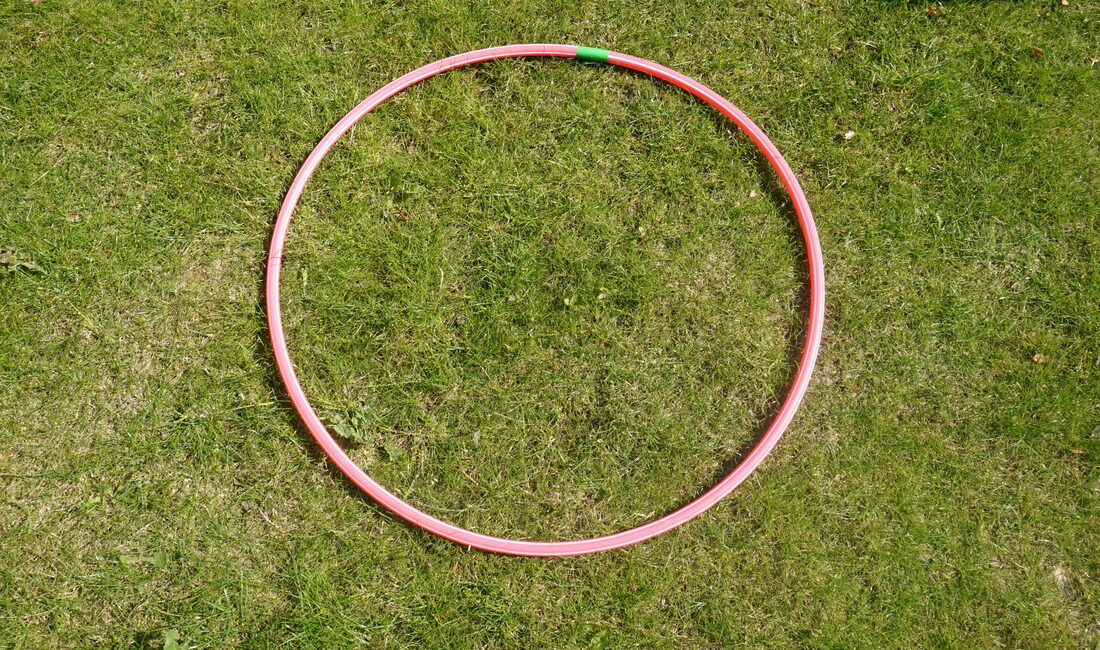
1. Get your mits on a hoop.
Amazon, Ebay and school supply shops are full of these traditional hula hoops!
2. Rough it up.
Your hula hoop is going to be a little too smooth for the paint to grip onto, so to get a rough surface rub the whole hoop down with medium sandpaper until you can feel a little texture but not too much that you get large pieces of plastic coming off. Be gentle!
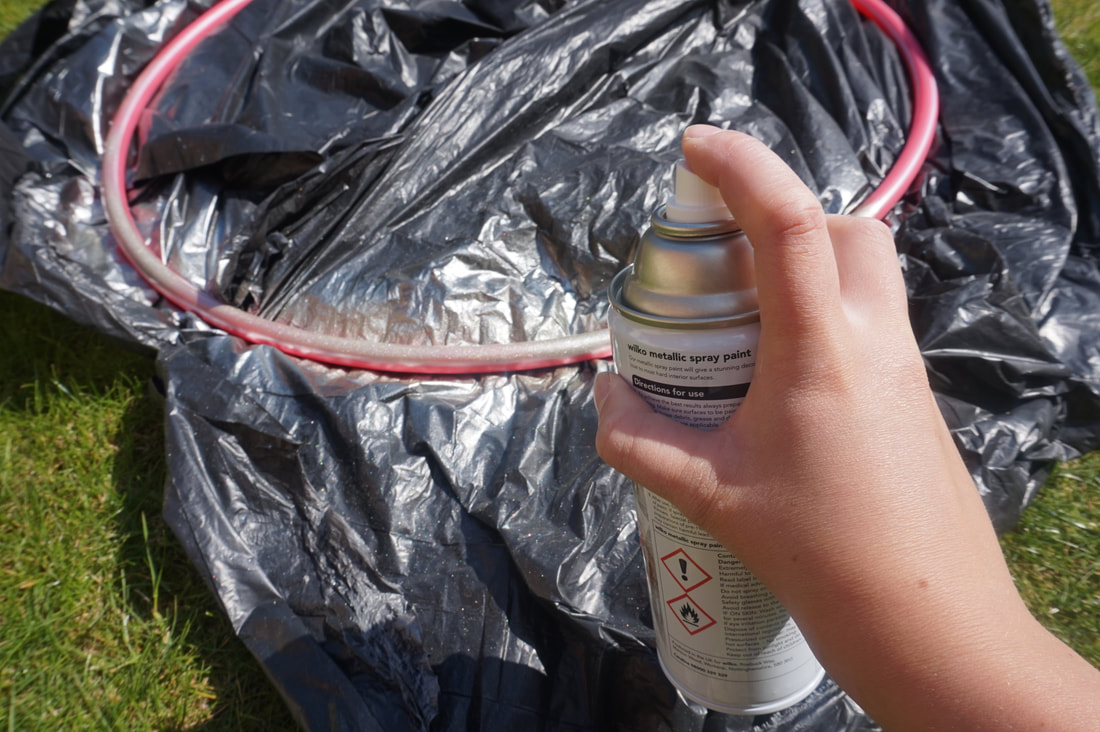
3. Spray away!
Recognise this? It's the Champagne Gold spray paint from Wilko that we used for the cute little woodland animal place card holders! Make sure you're in a well ventilated area and spray away! We recommend a metallic spray because it's likely to hide any scuffs or marks, but really you could rock any colour you like! Hanging the hoop while you spray is the best way to achieve an all-over even coating.
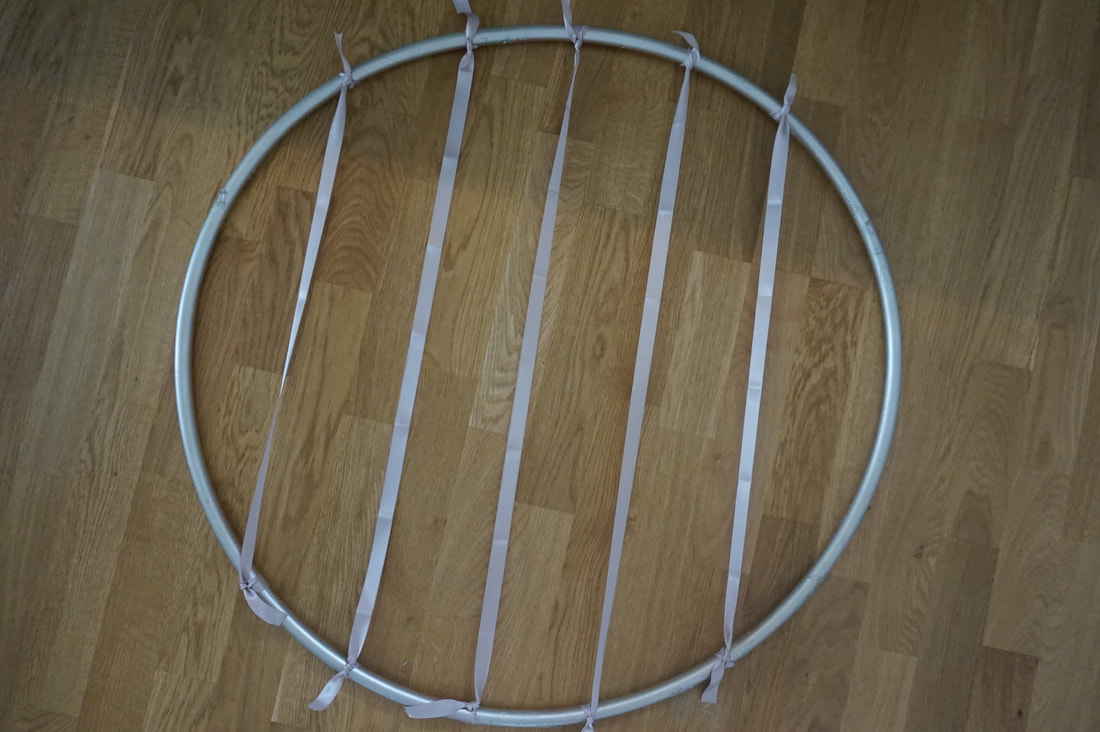
4. Ribbons!
We had a hard time choosing ribbon from Paperchase. Whilst it's not the cheapest place to find crafty items their selection is beaut! We opted for a muted Champagne pink colour. Start in the middle, tying your ribbon in a tight knot at the top and bottom and turning the knot so that it's on the outside of the hoop, and the ribbon is taught. Next, tie the two outer ribbons in the same way so that you have even spacing between them. Finally, tie the inner two ribbons following the same technique until you have 5 evenly spaced taught ribbons.
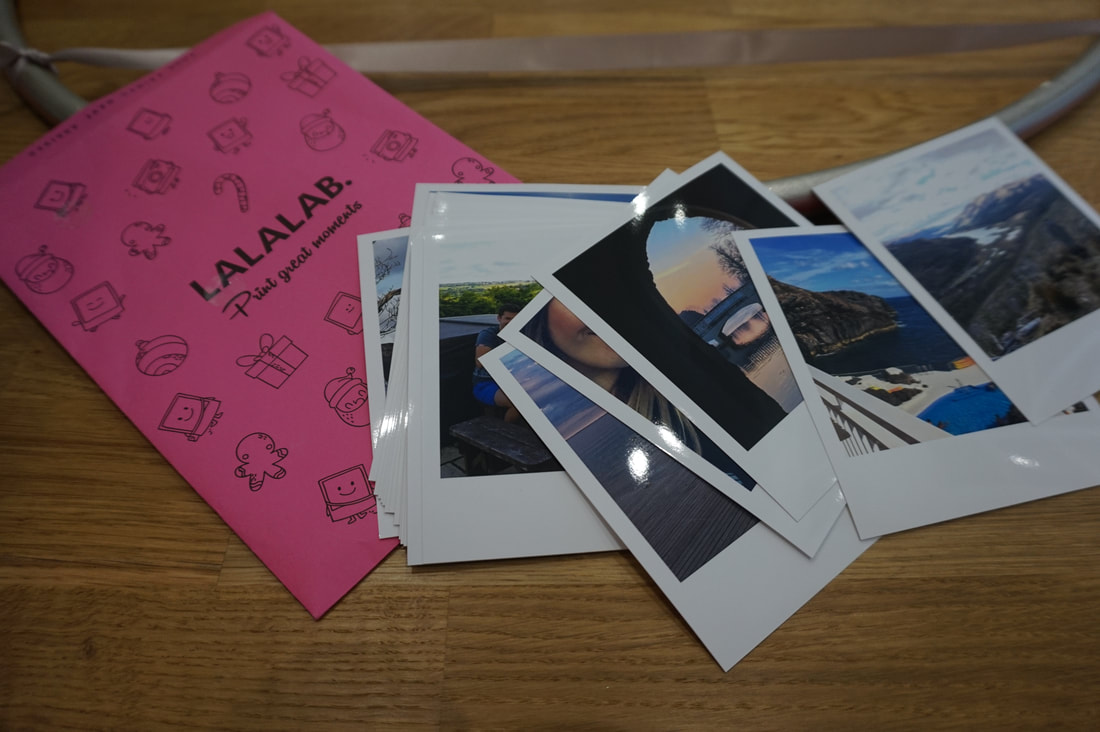
5. Fill with memories.
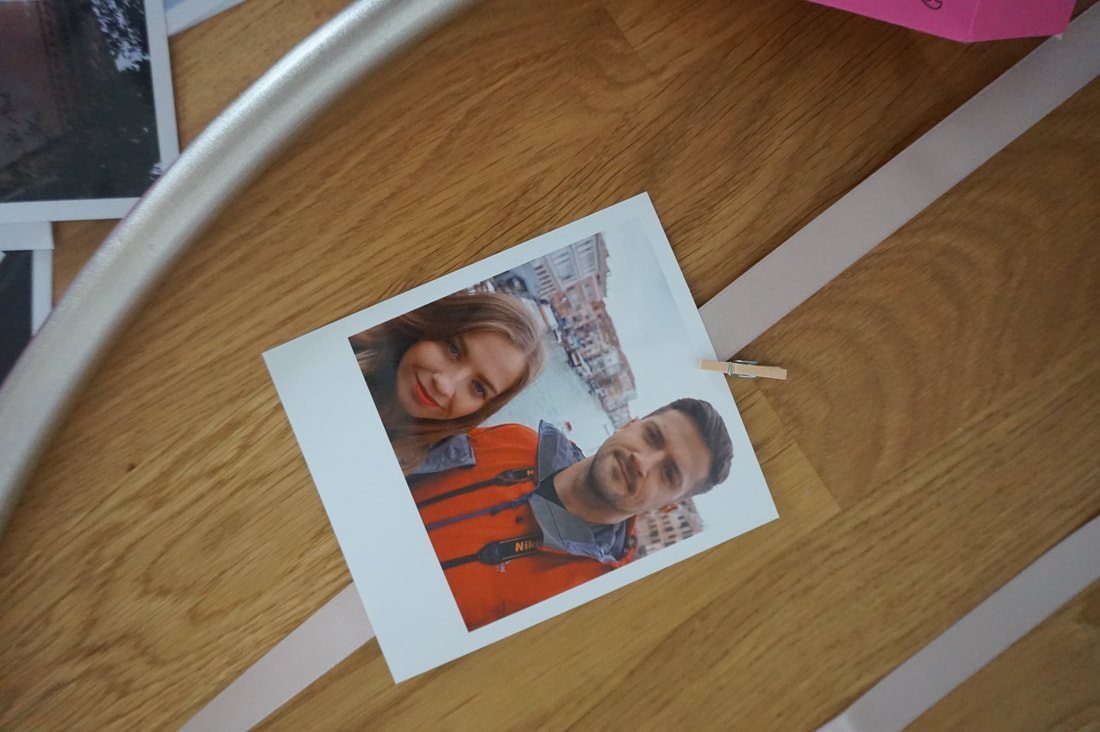
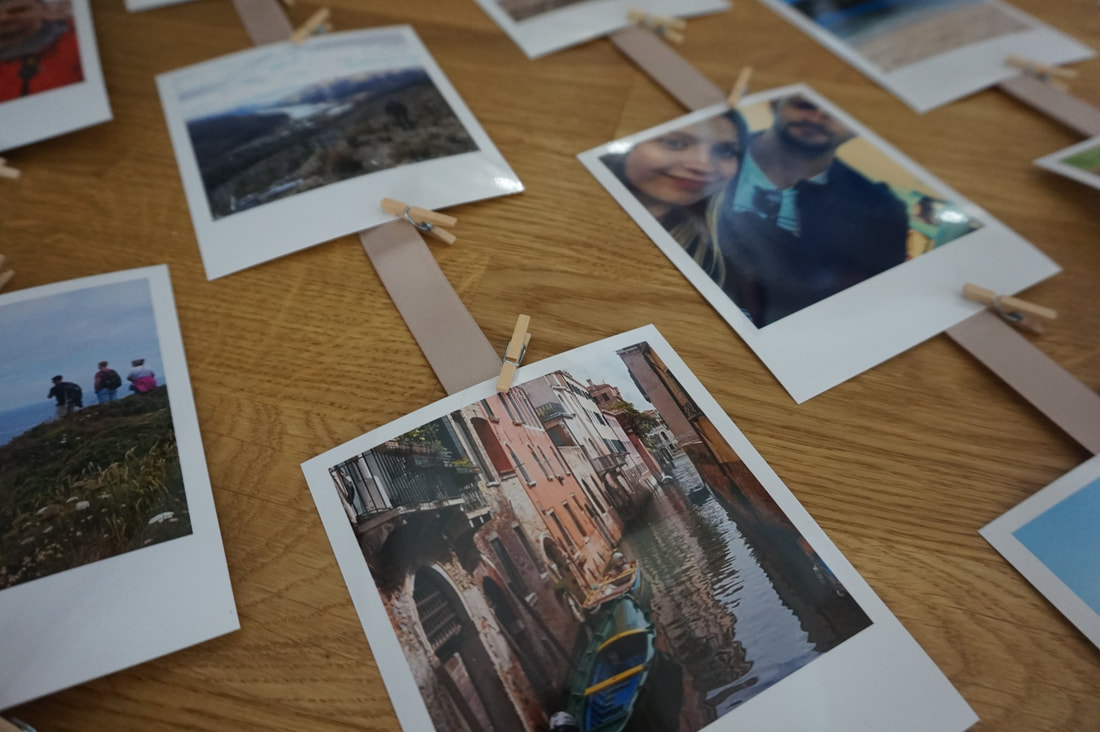
Using the same spacing technique as the ribbons, start organising your photos. We used the legends over at Lalalab for our polaroid style photos which turned out AMAZINGLY!! We attached our images with minute little wooden pegs. Aren't they adorbs?
6. Floral fancy!
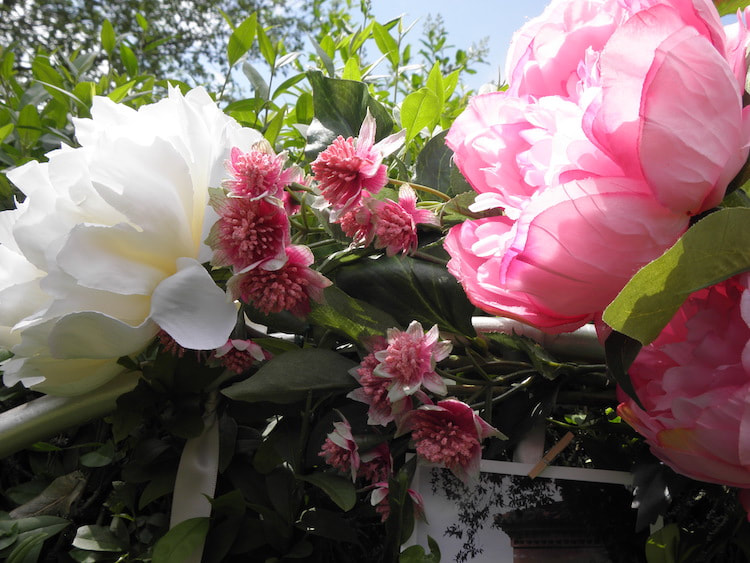
Ok, so did you know TK Maxx have heaps of faux fleurs? We opted for a mixture of white and pink peonies, and some smaller ditsy blooms in between. Start at the top left of your hoop and work around to the right, tying each bloom with dark green floral wire and hiding the wire with the next bloom. You can use dark green floral tape if you find this easier - just make sure you tie the tape tight under foliage and florals to keep it hidden.

